|
1975 101 Forward Control, GS
페이지 정보작성자 육혁 작성일04-12-25 13:19 조회3,829회 댓글2건 |
본문
AA yellow paint, custom safari cage and more
ECR 이란화사에서 손님을위헤특수제작!

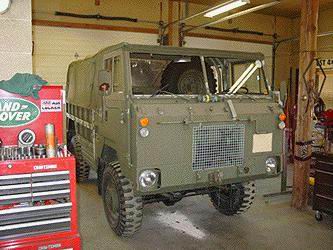
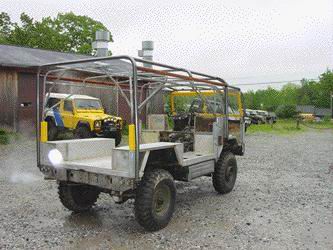
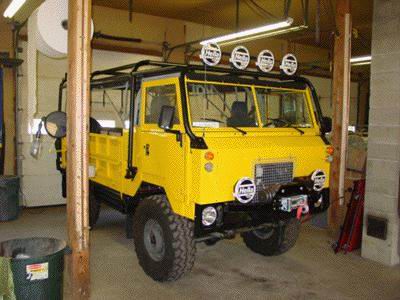
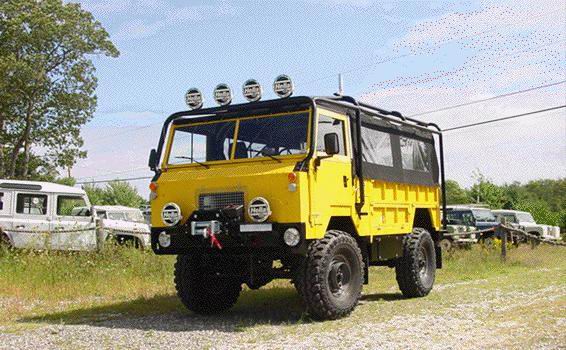
사진1 This ultra low mileage 101 is in for a round of upgrades and custom work to make it the premiere beach cruiser for its new owner. The 101 will be getting a AA Yellow paint scheme along with some larger tires, an updated sound system, a full custom s

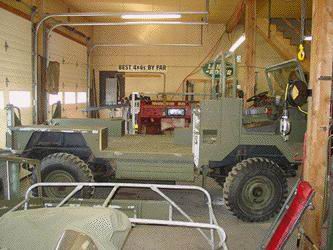
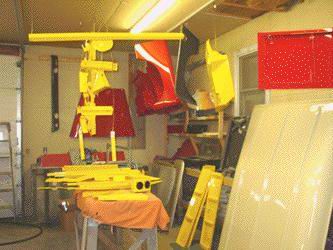
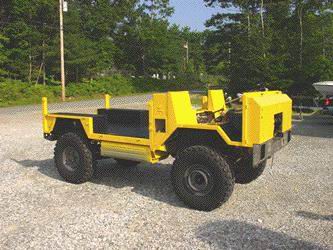
사진3 As the 101 comes apart, you can see just how much these military vehicles break apart, for both easy service and shipping. Here you can see we have removed as much as possible for painting, that way the removed pieces will get better paint coverage

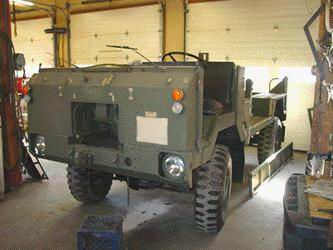
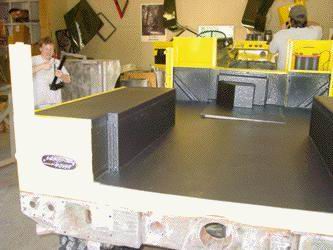
사진6 Now stripped of the take off panels the 101 will start to get the frame mounted safari cage system designed and built, and then its off to the paint bay for Rhino lining of the rear body and the AA yellow paint.

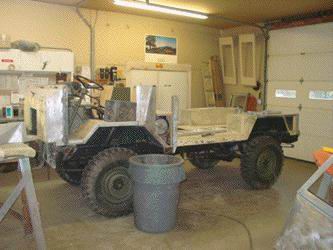
사진10 Stripping and prep on the main body continues and it is nearly ready for primer

사진11 Here you can see more batches of AA Yellow parts coming out of our spray/ bake booth, ready for assembly onto the 101

사진12 Now that all the parts that we could take off have been painted AA Yellow, and the main body of the 101 has been nearly fully stripped down, ready for paint and Rhino-Lining, we have moved the 101 back to the fabrication side of ECR where we are st

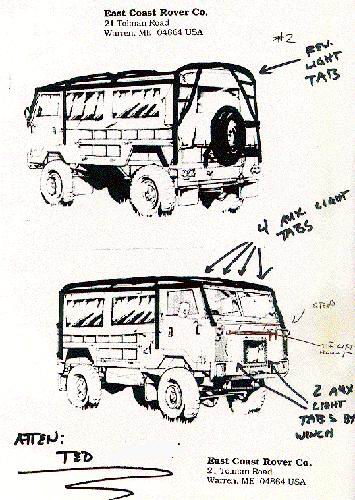
사진13 Working closely with the customer to make sure all his needs for the 101 are met, we went through numerous changes to get everything just right with the look and functionality of the 101. The image above is a copy of one of our faxes to the custome

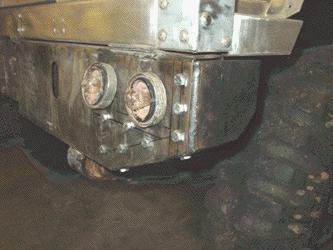
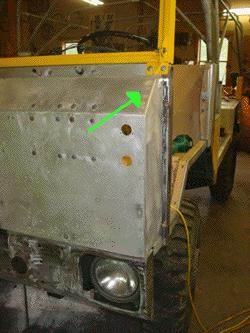
사진15 This image shows the same area, but outside the Rover. The safari cage front hoop will tie into this area and with the strong brackets behind it, will be ready in case the worst ever happens, and even if the worst never does happen, it will be toug

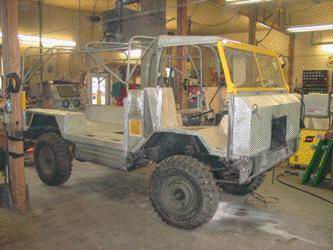
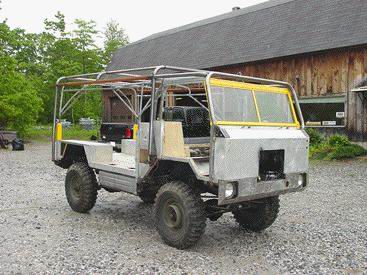
사진16 Here you can see that we have loosely set up the hoop set on the Rover to use it as a guide to make sure the safari cage is correct. The 101 is at least starting to look like a 101 again, after many weeks of stripping off nasty military paint.

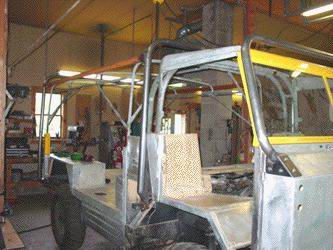
사진20 The front hoop is then installed, and the second and third hoops are fabricated and installed. Each hoop is directly mounted to the chassis of the 101 for strength and support. Once the hoops are in place it is time for the cross bars and the upper

사진21 The rear section of the cage starts to take shape as we install the top cross bar and make the mounts that mate the rear section to the front section. The cage is made in 2 sections so that it can be easily removed for service, or to change the loo

사진23

사진24

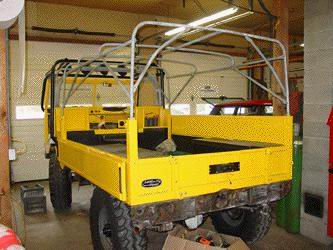
사진28 Here you can see the 101 just back from the Rhino-Liner.

사진29 They have coated the entire rear cargo area as well as the back sides of the side panels and the front floors so that the 101 will stand up to heavy duty use in all environments, with anything being pushed, pulled or dragged across the cargo area.

사진33 This image shows the 101 with all its body pieces back in place, road tested and doing great. The hoop set gets dropped on next and then we await the new custom soft top from Badger Coachworks.

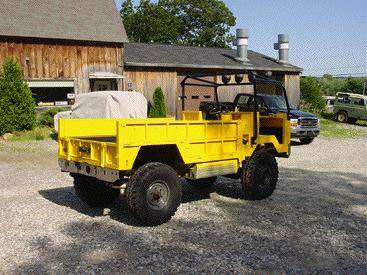
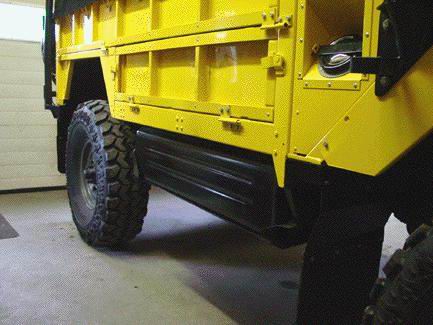
사진36 Here you can see the drop sides have been installed with new rubber seals and the hoop set has been installed. We also fabricated a 2" trailer hitch receiver that bolts to the rear crossmember so that the 101 can do some towing. That piece is being

사진37 In this image you can see that the 101 is really starting to take shape. The doors are installed and so are all the other AA Yellow body trims. The additions to the wiring are being made at this time as well, and the small items that had to be remo

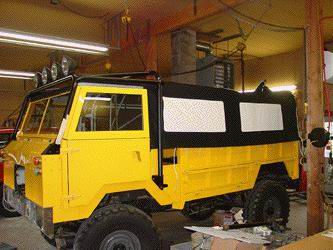
사진38 The new top from Badger Coachworks is made from a better material than the stock unit and was built in a great looking black color that makes the 101 look like the one of a kind piece that it is (unlike the army green original top that had basicall

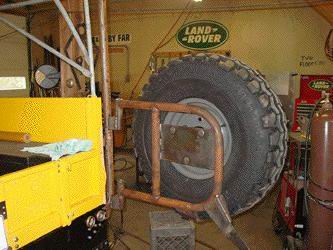
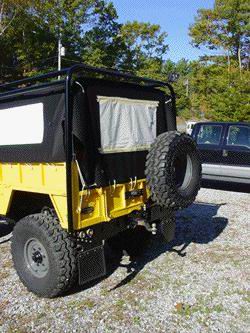
사진40 Now that the top has been test fit and we know that all the system are working correctly, we have painted the bumpers on the 101 in black and can now finish up the rear safari cage section. To handle the 37" spare tire (it is now too big for the st

사진43

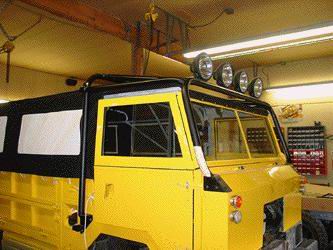
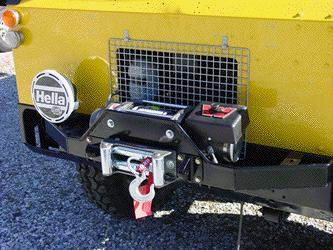
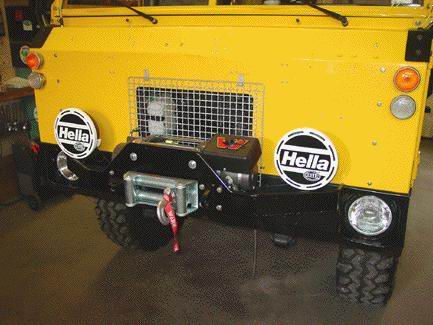
사진44 In the front of the 101 the Warn 12,000 winch has now been installed, as have 2 heavy duty recovery ECR ROX points. The Hella 4000 driving lights are now being installed in the newly painted bolt on winch mount system.

사진45 Here you can see the 101 really looking together. The small details like wipers, new anti-burst door latches and more are all in place and working great. Next we move on to installing the rear seat/ storage system and the high end stereo.

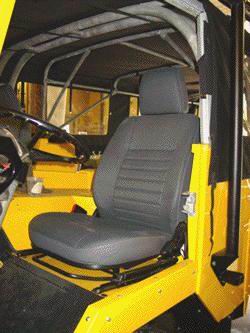
사진46 To ride in comfort in the 101 we have installed seats from a Defender 90 so that the owner will have the safety of a high-back seat and more comfort, as well as a sliding seat track to allow for comfort with different sized drivers. We have also in

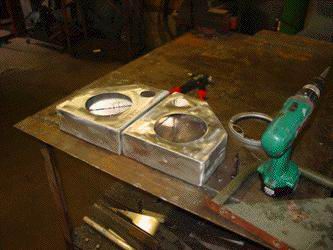
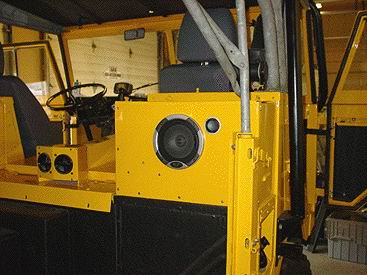
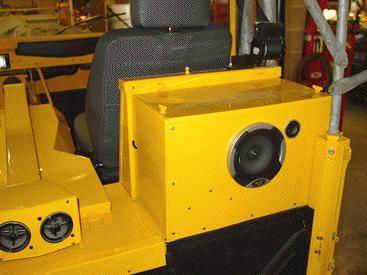
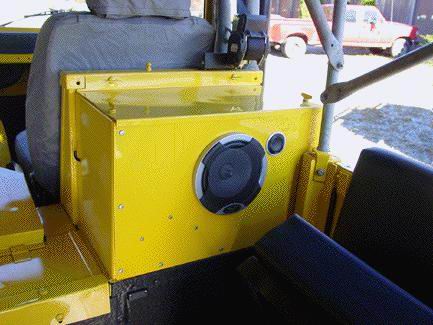
사진49 The rear speaker locations in the 101 needed a totally custom housing. There is no place in the back of a 101 for anything other than military troops. So to house the speakers and the cross overs we fabricated these alloy boxes that will sit at eac

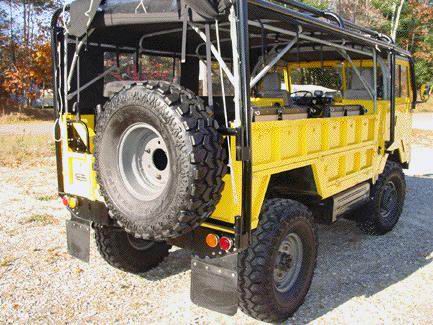
사진50 This area on a 101 is usually reserved for the spare tire. In our case the new Swamper SSR tires were too big for this location, so the rear swing away tire carrier was made. In this space we will be housing a lot of the sound system equipment for

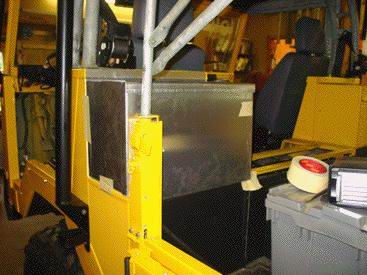
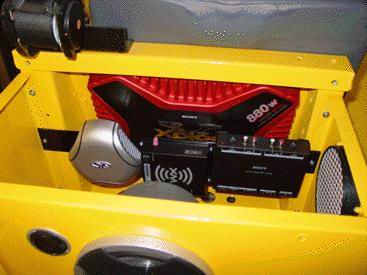
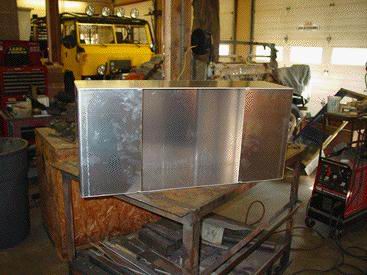
사진52 Here you can see the alloy box seen in the image at the top of the page. It has now been painted and filled with stereo equipment. The amplifier, a cross over, the XM receiver as well as the input selector are all mounted in this box that looks lik

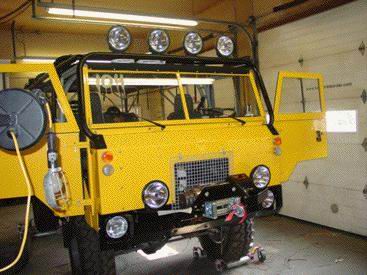
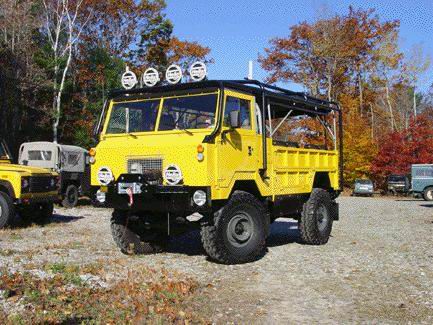
사진53 In the front of the 101 all the additions and systems are now in place. The Hella 4000 lights are wired up and create daylight in the night, the Warn 12,000 winch has been spooled up, tested and it ready to pull other vehicles out of the sand. The

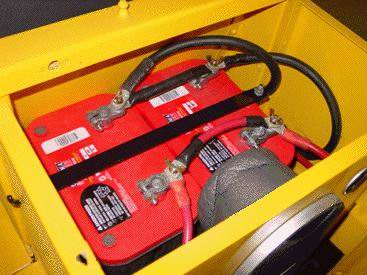
사진54 Back inside the 101 the sound system continues to come together. The battery box now holds another speaker, as well as enough battery power to handle all the systems in the 101. This battery box panel was fabricated here at ECR and then painted to

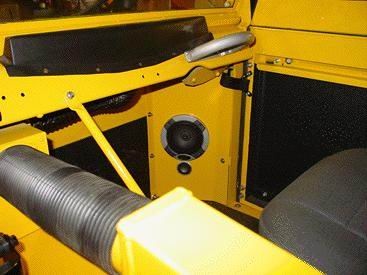
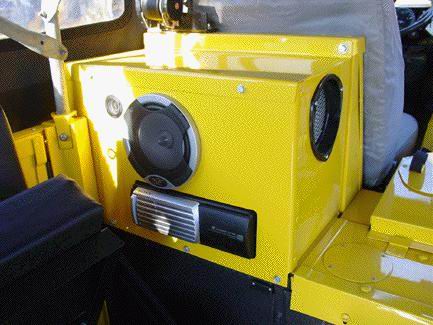
사진58 The front speakers in the 101 are made into this trick panels that we fabricated for the corners of the footwells. The speakers are out of the way of your feet and will provided good sound for the driver and passenger. These panels are made from a

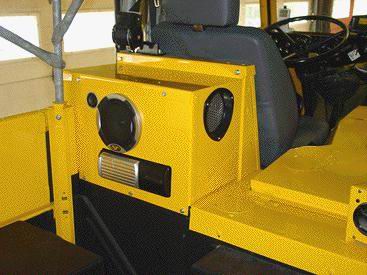
사진59 The exterior of the newly fabricated box that holds the amplifier and other parts has now been installed. You can see its new face houses another speaker as well as the exposed area of the 10 disc CD changer for even more on board music storage. We

사진60 The goal is to install updated system, but keep things looking like a factory pieces, and these panels do the trick nicely.

사진61 Inside this box are the twin Optima batteries that give power to the systems.

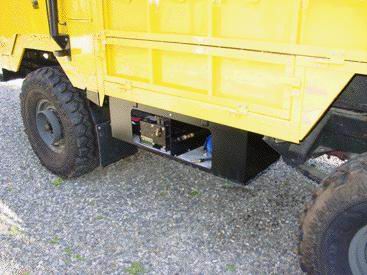
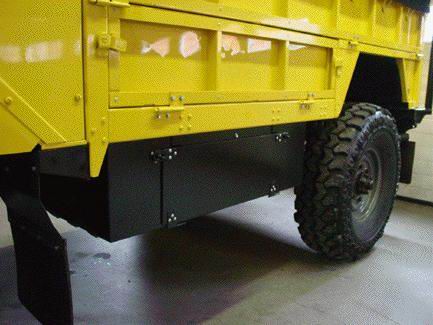
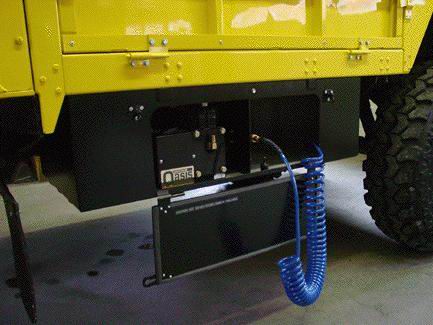
사진63 This image shows an alloy box that we are fabricating to go under the LH side of the 101. The box will be made to look like the fuel tank that is on the RH side of the Rover, but this box will have a flip down door that will give access to a new on

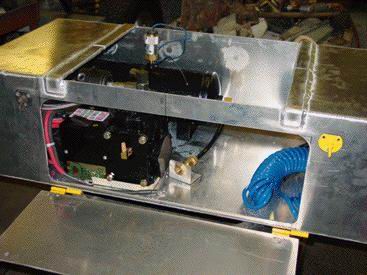
사진64 Here you can see the box taking shape and the Oasis Air system being installed. This air system is as fast as a shop air compressor and will be able to fill the tires on the 101 in a hurry without risk of wearing it out, like other small compressor

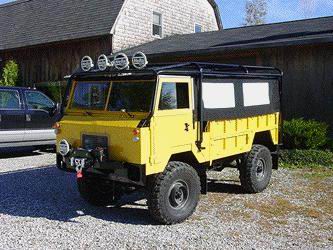
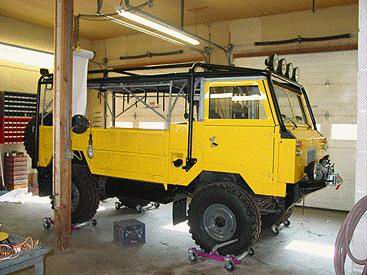
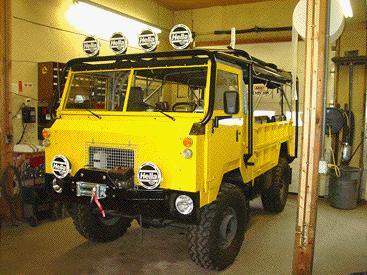
사진65 Here you can see the 101 nearly ready for delivery. A few more additions are to be made and then some on road testing and the 101 will be ready to head to the Hamptons.

사진66

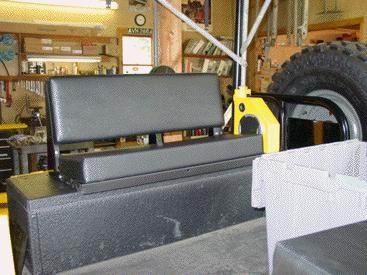
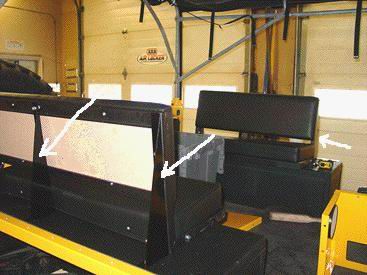
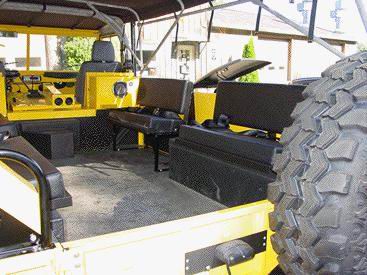
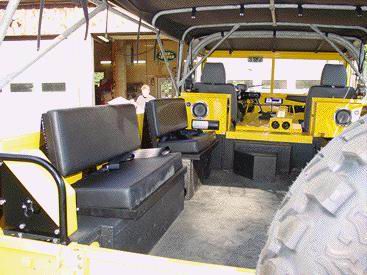
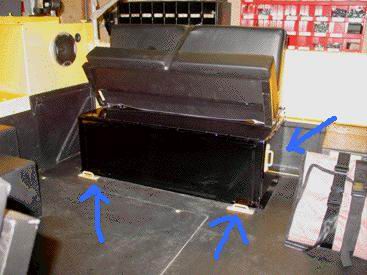
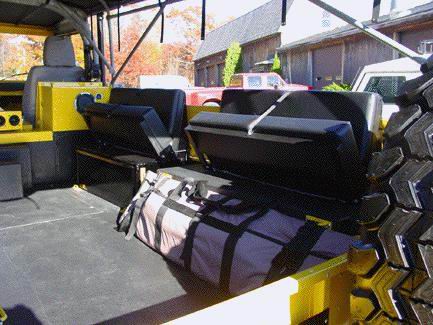
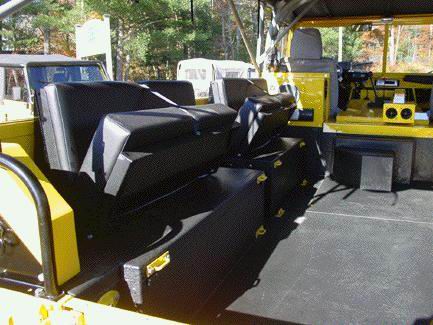
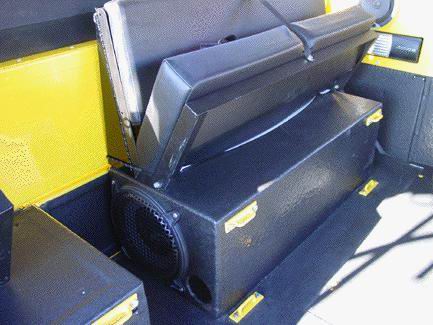
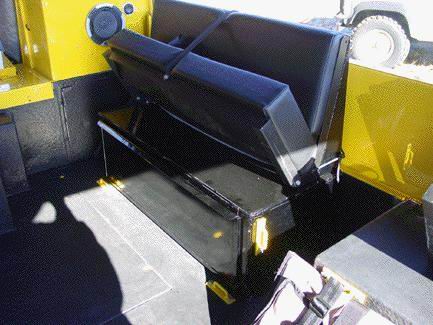
사진67 These images show the rear seating that is going into the 101. There are a total of 4 rear bench seats that are in the cargo area of the 101. Each has seat belts for 2 passengers making this one load carrying 101, but instead of military troops, it

사진68

사진69 Here you can see that all the seats are in place and we have installed seat belts (2 per seat) through out the rear area. This 101 can now be a rolling party where ever it goes.

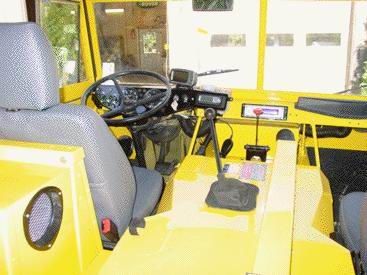
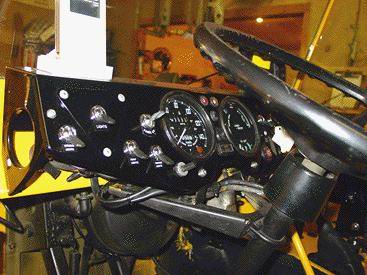
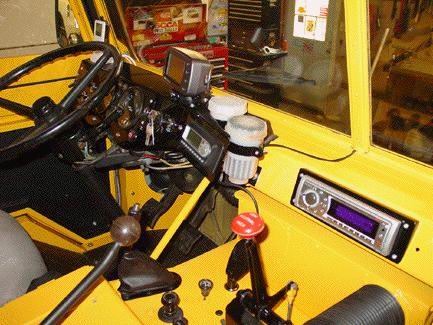
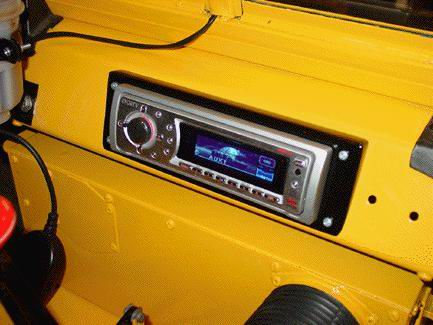
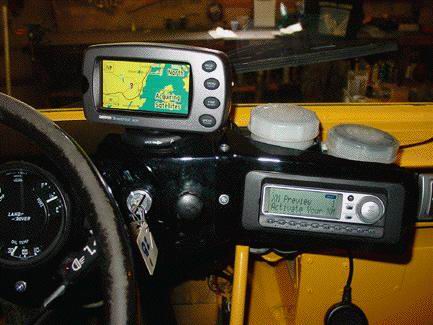
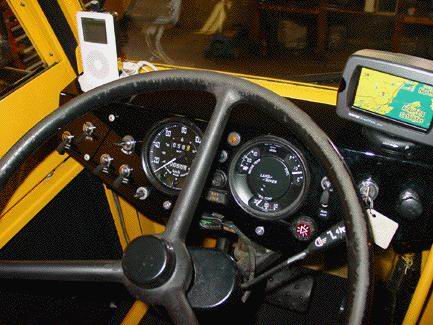
사진71 The dash area is now complete with everything from the standard 101 controls, to a talking GPS system, iPod, XM radio, CD, MP3, on board 115volt power, Defender seats, inertia seat belts and more. You name it, this 101 had it added on.

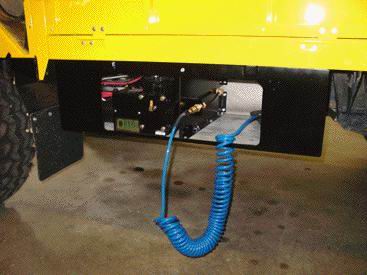
사진72 his image shows the nearly completed on board air system for the Rover. The alloy box we built has been shaped and painted to match the fuel tank on the other

사진73 side (we still need to fit the door to the box) and the Oasis air system has been installed inside.
This compressor will run air tools and easily be able to fill the 37" tires on the 101. Simply hook up the supplied air hose and flip the switch a

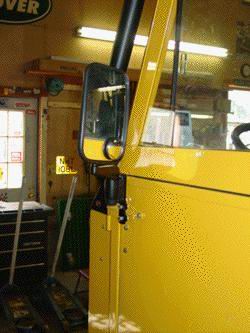
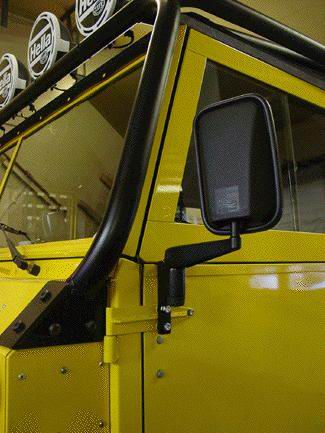
사진74 Another small but useful upgrade is that we have installed Defender style rear view mirrors onto the 101. We needed to make some special brackets for this to happen, but once installed they give a nice look and a safer view out the back of the Rove

사진75 Nearly ready and ready for road tests

사진76 Here you can see the completed 101. After a few miles of road tests we will be getting to ready for delivery to the new owner in NY, where it will certainly stand out in the sea of common sport utilities. This Rover truly is a "One of a kind 101".

사진78 To make sure things "stay put" in the cargo area of the 101 we have added tie down points all over the cargo area. These can be used with straps or cargo nets to secure just about anything in the back of the 101. We also enclosed the seat base for

사진81 The interior lights come on when you open the front doors, or you can manually turn them on via a dash mounted switch. In the driver and passenger footwells we also installed some LED lighting, and on the top of the windscreen frame we installed a

사진82

사진83

사진84

사진85

사진86

사진87

사진88

사진89

사진90

사진91

사진92

사진93

사진94

사진95

사진96

사진97

사진98

사진99

사진100 끝

