|
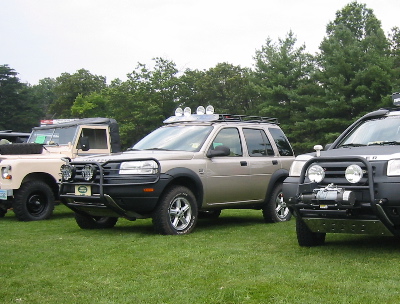
Free lander roof rack light
페이지 정보작성자 육혁 작성일05-01-22 01:13 조회3,450회 댓글0건 |
본문
Texas Rover:
Light Installation with a Safety Devices Roof Rack
The following are descriptions of two separate ways that I mounted the lights onto the Safety Devices Roof Rack. The second method might work for some of you that have a different rack. Much credit belongs to Dave of the Thatched Roof Garage for use of his tools and expertise.
Installation Version 1
Parts required:
Hella lights (I bought 2 pairs, Hella 500)
Kit includes: lights, switch, wiring, relay, and enough wiring
Angle aluminum for the brackets
Bolts, nuts, washers for the brackets (the light kit will have enough hardware for it)
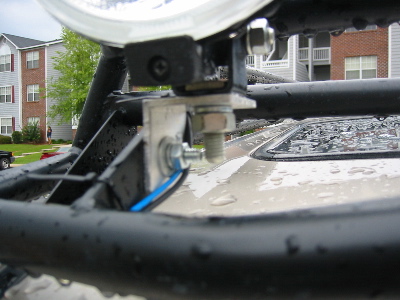
With this installation I used the existing holes that are drilled in the rack. Unfortunately, these holes are facing the wrong way to simply bolt the lights onto the rack. To remedy this, we cut angle aluminum and drilled two holes into this custom bracket. This bracket attached to the rack and then the light to it.
Installation Version 2
Parts required:
Hella lights (I bought 2 pairs, Hella 500)
Kit includes: lights, switch, wiring, relay, and enough wiring
Angle aluminum for the brackets
4 5/8 carriage bolts with nuts and washers
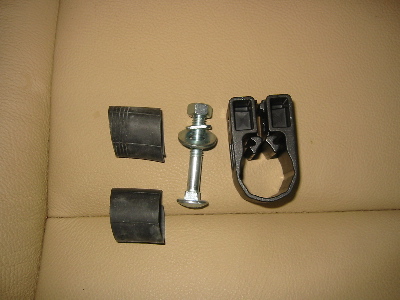
Yakima Universal SnapArounds - Pack of 4
Old bicycle inner tube
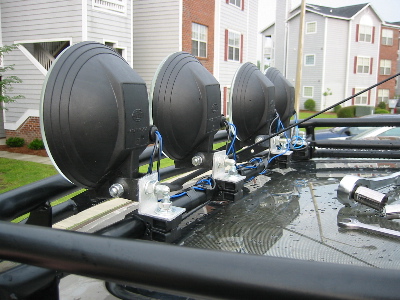
This is the jury-rigged version. However, I like the way it works and I think it looks fine. Some advantages are: with version 1 the lights sit pretty far forward and dump a lot of light into the windscreen. With version 2 the lights sit further back and a little lower and use the roof as a visor. While some light still comes in it greatly reduces the amount and increases visibility.
The Yakima Universal SnapArounds cost around $8 and are almost the exact same diameter as the SD rack. You can get them through www.rei.com. To take up the space and make it fit snug I cut strips of an old bicycle inner tube and used them as a shim. The 5/8-2.5” carriage bolts fit perfectly, and I used them to bolt the SnapArounds to the aluminum bracket. With everything attached all that’s left is the wiring.

사진1

사진2

사진3

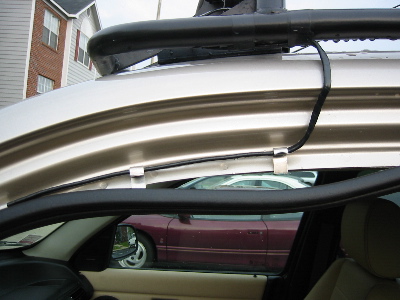
사진4 The lights are all wired in series so that they all come on at the same time. I ran the wires down the driver’s side and used aluminum brackets (the kind used to attach pipe to the studs in a home.) They are shimmied under the rubber door gasket an

사진5

사진6 The last thing I did in this project was custom make a fairing for the rack. I did this in the name of science to see what effect if any it had on gas mileage. The study is still ongoing.

사진7 I went down to the local plastic shop and picked up a piece of 1/4” Lexan. Then with the help of Steve and a few Bass Ales we attempted to draw some straight lines in order to cut if to fit using a scroll saw. It came out looking like a pair of Oak

사진8


