|
1993 Range Rover LWB
페이지 정보작성자 육혁 작성일05-01-26 02:39 조회4,490회 댓글1건 |
본문
ECR:
1993 Range Rover LWB
EAS to Stage II suspension, Pursuit 4.6, Paint and more

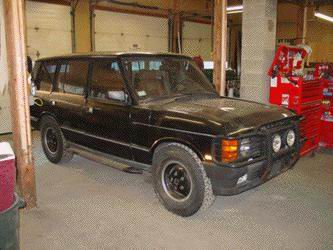
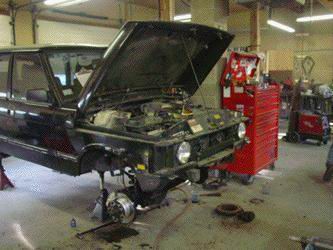
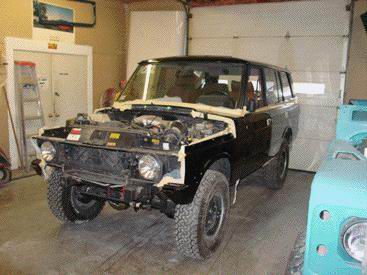
사진1 This Range Rover has come to us by way of MA for a customer in CT. It is a new purchase for the customer and he wants us to go through the Rover and trick it out. The plans for this nice, but somewhat neglected LWB include new paint, a new Pursuit 4

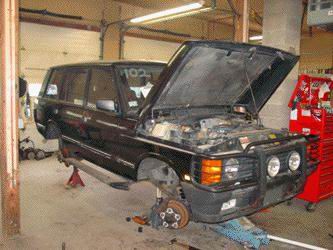
사진2 The first step in the process to make an LWB (Long Wheel Base) "a lot better" is to make it "a lot worse". So we will be gutting the EAS (Electronic Air Suspension), scrapping the weak factory bumpers, taking off the running boards and yanking the d

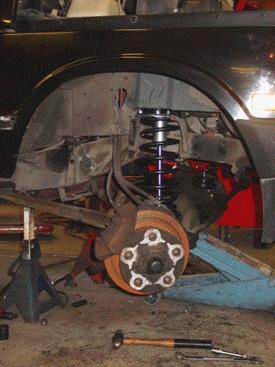
사진4 In the front of the Range Rover we have also removed the EAS system parts and have installed the new springs and Fox racing shocks. As this was originally an EAS Rover, we have removed the EAS shock mount and installed the Defender style shock tower

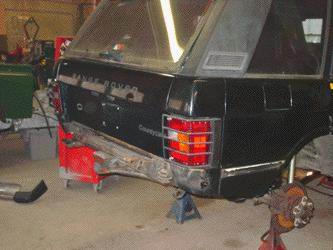
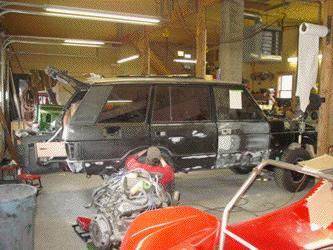
사진5 At the rear of the Range Rover we have taken off all the weak factory parts and have started to strip the LWB down for paint. There are some dents and dings to correct, and the customer has decided to go with no logos on the Rover, so we need to rem

사진6 Back at the front of the LWB we have removed the rusted and weak front brush bar and the really nasty wiring for the old Hella lights. We have also started to take off some of the lights and trims for the upcoming paint job. A new coat of base clear

사진8

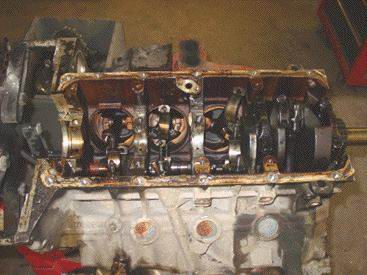
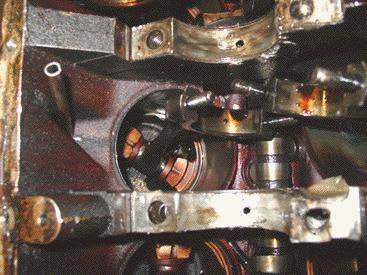
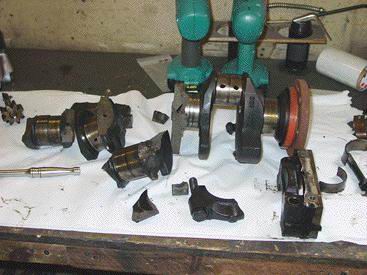
사진10 You have heard us talk about the weakness of the 4.2 V8 being crankshaft deflection. The engine in this LWB is the definition of the problem. At high miles and under stress the crankshaft can flex and break and as you can see from the image above o

사진11 Check out those main bearing surfaces and the twist in that connecting rod. Yikes

사진12 This image shows the rest of the crankshaft bits. This is common with the 4.2. and yet believe it or not we still here of other Rover shops in the USA selling their customers hopped up 4.2 engines to replace their 3.9s and 3.5s. Talk about starting

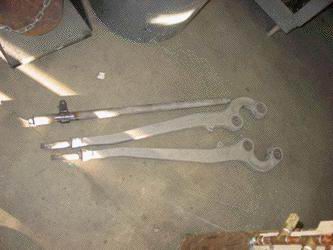
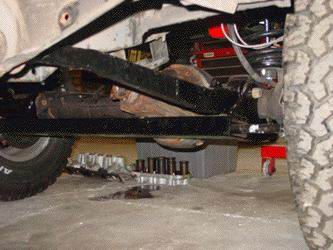
사진13 Underneath the Rover the news is better. In this image you can see that the freshly fabricated ECR ROX parts have now been primed, painted and installed. The modified radius arm, the tie rod guard and the Stage II suspension are all in place and lo

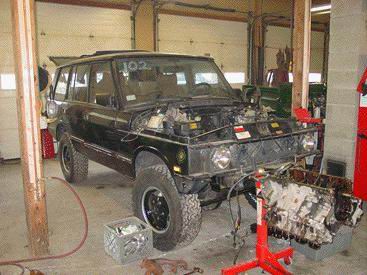
사진14 The Range Rover LWB now has a new off road stance thanks to the new suspension, some new rims and tires that the customer sent to us, and it is now starting to look like an ECR Range Rover.

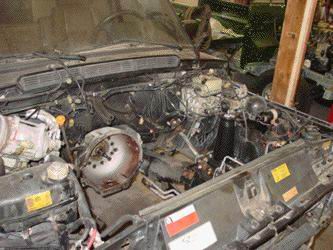
사진15 Here you can see that we have pulled the badly damaged 4.2 and have started to clean up the engine bay and make it ready for the new Pursuit 4.6.

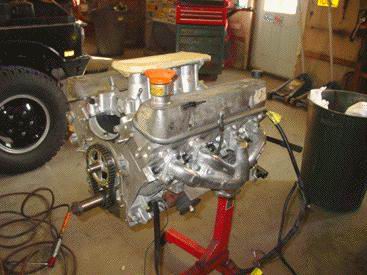
사진16 This image shows the new Pursuit 4.6 being set up and made ready to drop into the Range Rover. At roughly 275 HP this will make the Range Rover LWB drive like it should and have power to spare for passing and climbing hills. A nice touch on this Pu

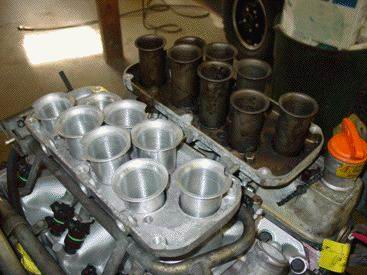
사진17 On the intake side of this Pursuit 4.6 you can see the difference between our intake system (left) and the stock 4.2 intake system (right). The custom ported intake and heads along with the velocity stacks all mean more air, and more air means more

사진19 This images sow the body work being done on the Range Rover. The parking lots dings are removed and spot primed, then the entire body will be sanded in order to apply the first coats of primers surfacer.

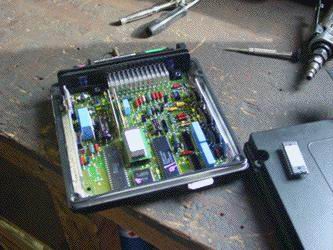
사진20 While work continues on the body, we are finishing up the Pursuit 4.6 install. Part of doing a 4.6 install is upgrading the computer system, without that modification your new 4.6 would be worthless. This new computer chip (shown installed above) l

사진21 Here you can see the LWB just out of a bake cycle with its last coat of clear applied over numerous coats of primer and base coat black. The Range Rover now shines better than the day it was new and the new paint will last longer than the factory p

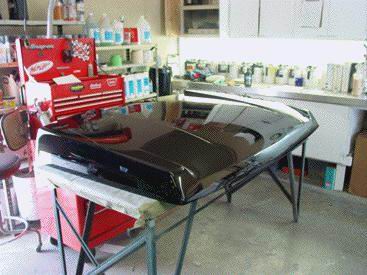
사진22 In this image you can see the new hood for the Range Rover after the final paint process. The gloss is deep (check out those reflections) and the paint is perfect. Now we will move on to installing the hood and lining up all the body lines to make

사진23 Here you can see we have installed all the body parts and completed the paint aspects of the Range Rover LWB. We will now move it back to the fabrication side of ECR where it will be getting its off road and ECR ROX equipment installed.

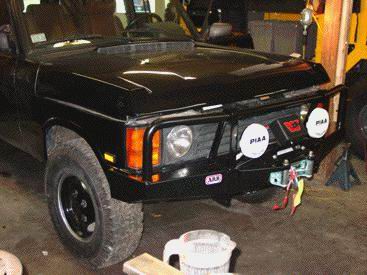
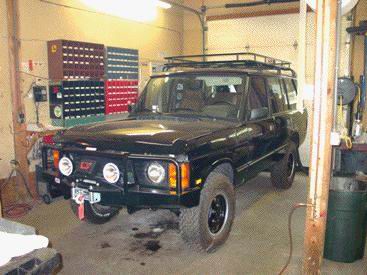
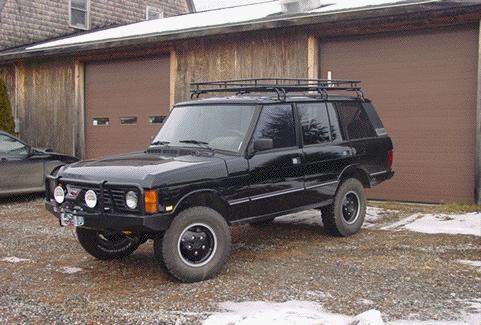
사진24 This image shows some of the off road goodies going on. The ARB bumper and Warn 9000 winch have now been installed, along with the PIAA driving lights. This combined with our ECR ROX stabilizer conversion and tie rod guard make the front of the Rov

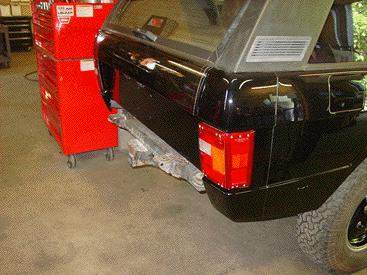
사진25 Here you can see that the stock rear bumper has been removed to get ready for the ECR ROX rear bumper. As you can see above, no modifications are required to the Rover to fit and ECR ROX rear bumper, they are a direct bolt on, ultra rugged unit the

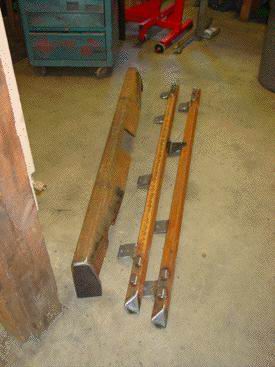
사진27 Here you can see the ECR ROX rear bumper and sliders in raw fabrication form. These will now be media blasted to white metal, then treated with 4 coats of PPG 2 part epoxy primer And 3 coats of stain black top coat. This will prevent rust, and unli

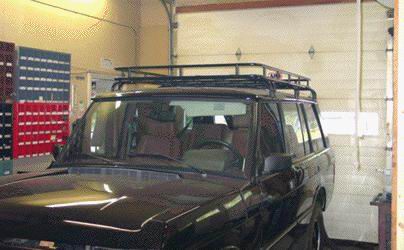
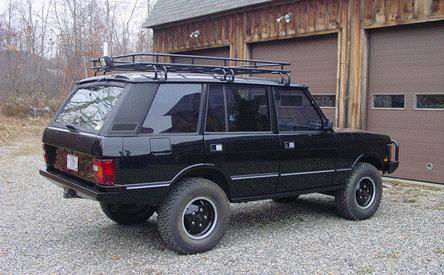
사진28 On top of the LWB we added a Brownchurch roof rack for a nice low stylish look, and the ability to carry gear on top of the vehicle during extended trips.

사진29 The exterior of the Range Rover is now nearly completed. The sliders and rear bumper are in the paint booth being coated still, but the small details of the Rover are going on. The door rubbing strips have been installed and everything has been tes

사진30

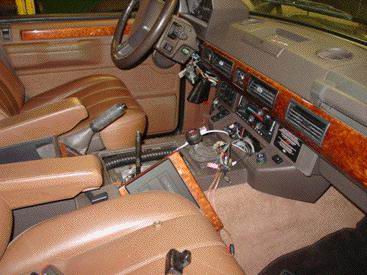
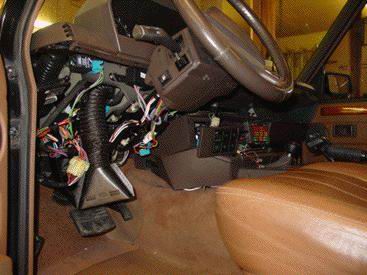
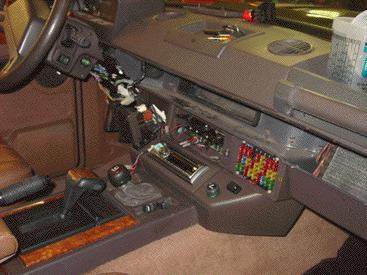
사진31 Inside the Rover is another story. The stereo had been ripped out when it was stolen and electrical gremlins abound inside. Power seats do not works, mirrors are not working, etc. The good news is that although chasing all these gremlins down takes

사진32 The bad news is that to correct all these problems that previous owners just tend to ignore, means that the interior has to get worse before it can get better, as you can see above.

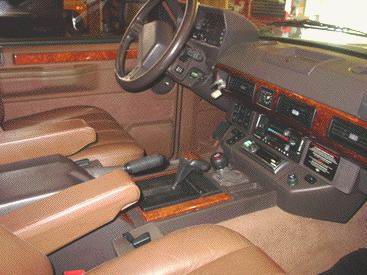
사진33 Once all the glitches are corrected and everything works the way it should, the interior goes back together with some new plastic bits. You can also see above that we have added a new Alpine head unit with XM radio and changer controls. We also add

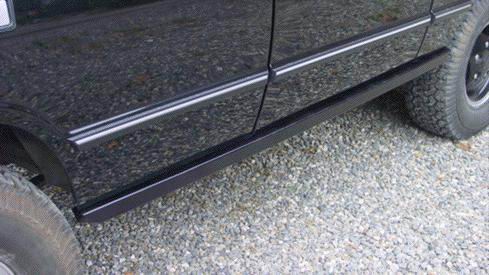
사진34 Now that the inside of the Range Rover is done, we can finish up the outside. Above you can see that we have installed the newly painted ECR ROX sliders. These units are tough as nail, come with a lifetime warranty, and have Hi-Lift points front an

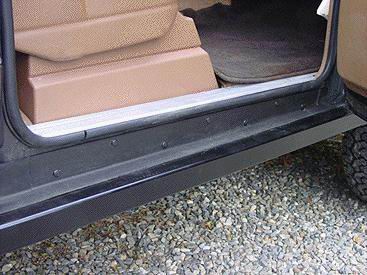
사진35 Open any door on the Rover and the ECR ROX sliders look as good with the door open as they do with it closed. The factory look trim piece we install keeps mud out of this area and also gives a nice finished look to your Range Rover.

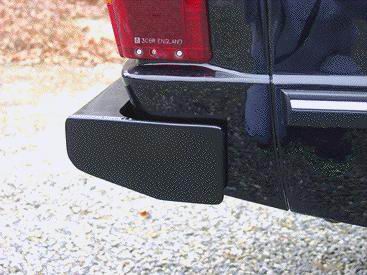
사진37 The ECR ROX Classic rear bumper also replaces those cheesy plastic end caps with heavy duty steel units that are all one piece with the bumper. ECR ROX Classic rear bumper are available mail order for DIY install. Call or email for more information

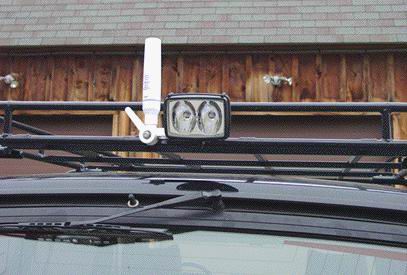
사진38 At the rear of the roof rack we fabricated a bracket that holds the Hella twin bulb rear work light and the XM radio antenna. The antenna can be folded down for space to get into those low parking garages, or when off roading where a heavy tree lim

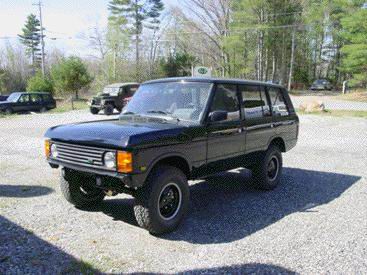
사진39 Here you can see the nearly completed Range Rover LWB with is full compliment of ECR work and ECR ROX equipment that will make the Rover reliable and functional on the trail and on the street. This dual purpose Rover really is one "Black Beauty" as

사진41 This is the completed Range Rover LWB. A great running and driving vehicle that is at home on the freeway, or on any trail ride. The LWB has power to spare with its Pursuit 4.6, full protection from mild to moderate off road hazards with it full co

