|
96 disco-Series I to 300tdi 1부
페이지 정보작성자 육혁 작성일05-01-04 03:53 조회4,406회 댓글4건 |
본문
1996 NAS Discovery
300 Tdi (turbo diesel) engine (no EFI computers, no sensors!)
R380 5 speed gearbox
LT230 full time 4x4 transfer case 1.22 ratio
Safari Gard Stage II suspension (with Fox racing shocks and all the tricks)
Safari Gard Front bumper with skid plate
Warn 9000 winch
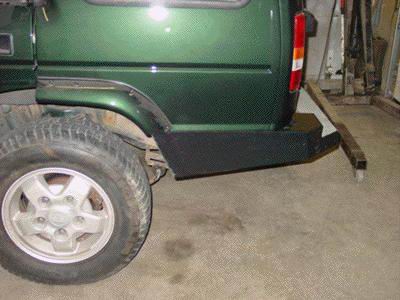
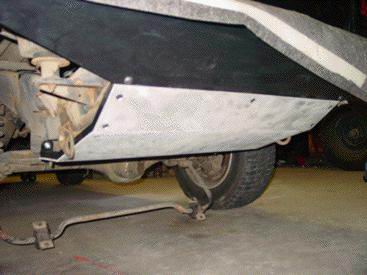
Safari Gard wrap around rear bumper with fuel tank skid plate
4.11 ring and pinions (we decided to go this route rather than install a 1.4 transfer case. So we are keeping the 1.22 transfer case and going with the 4.11s to get the Tdi gearing right and get a better low range crawl ratio as an added benefit.)
ARB Air Lockers front and rear
ECR ROX Disco wheel flares
ECR ROX Disco rear spoiler
HD steel wheels, (NATO style steel units)
Good-Year MTR radials
Safety Devices full roof rack
Plus all the ECR ROX upgrades:
Steering stabilizer relocation kit
Full tie rod guard
Front differential guard
ECR ROX sliders
and other great upgrades such as:
3 Hella 4000s driving lights
Heavy duty floor mats front and rear
Waterproof seat cover for the rear seat
Mantec raised air intake
Rear spoiler
...and much more

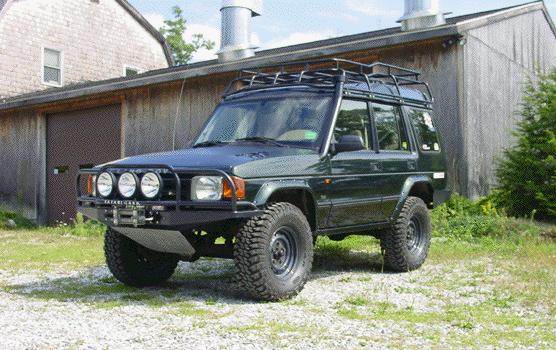
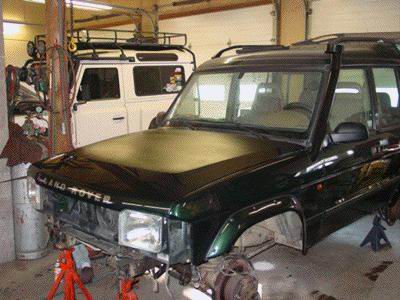
사진1 ECR Project Discotech...fini!

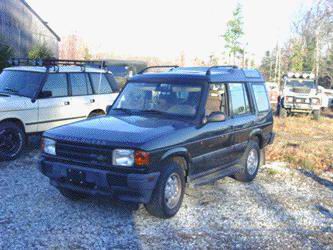
사진2 1996 Discovery Series I. It is currently a 4.0 EFI V8 with a 5 speed gearbox

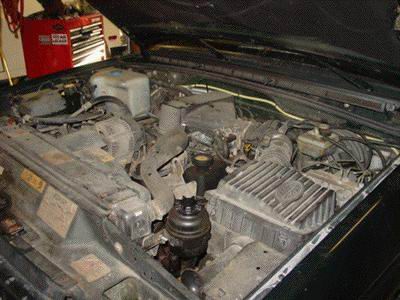
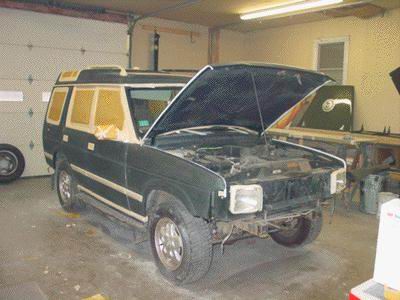
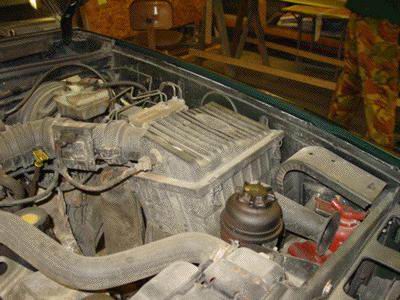
사진4 This image shows the engine bay when the Disco arrived. A little dirty, but mechanically in very sound shape.

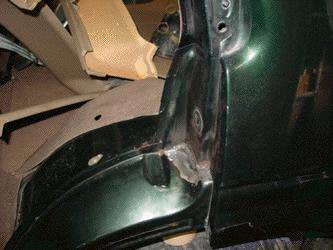
사진8 In this image you can see that we have replaced the rusty bits with all new steel and tig welded it in place. This makes a correct long lasting repair to the area and no body or filler is ever used in any of our rust repairs. Now that the rust has b

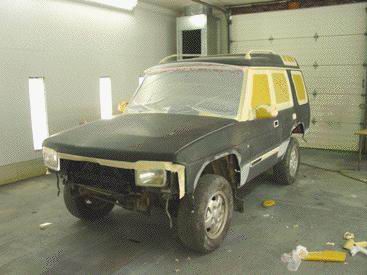
사진10 This image shows the project nearly ready for the paint booth, a little more bodywork and a lot more taping and well be ready to spray.

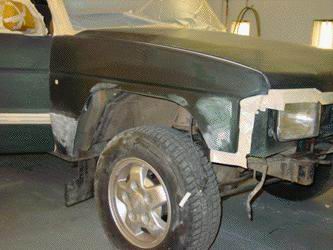
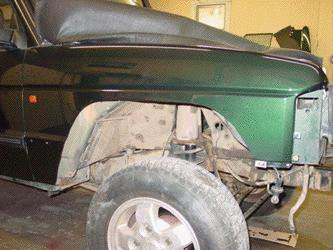
사진14 Here you can see the final body line of the front fender, with the fender skin cut away to accept the flare, a nice opening that will look great with the new flares and be functional as well.

사진16 At this point we have moved the Rover into our spray booth and will now finish covering it and wipe it down for the first coat of PPG epoxy primer/surfacer. Next time you see the Discotech it will be wearing new paint and the new flares

사진18

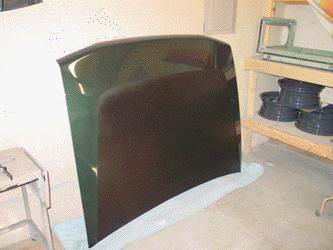
사진20 While the hood was removed for the Tdi conversion, we took the opportunity to paint on the Camel Trophy style black out. Done with PPG 9300 paint it will be easy on the eyes due to lack of sun reflection, and it will last a long time, and we think

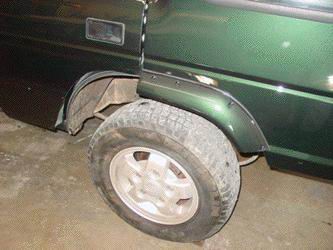
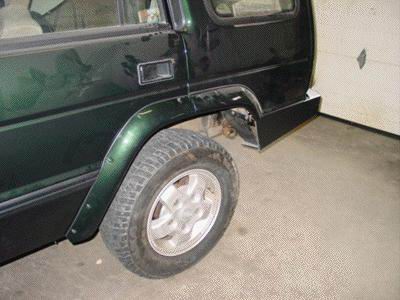
사진21 In this image you can see one of the rear flares now painted, and in place. The flares we sell are longer than this unit shown. We trimmed ours to match the Safari Gard rear bumper lines better. They normally go down to the bottom line of the stock

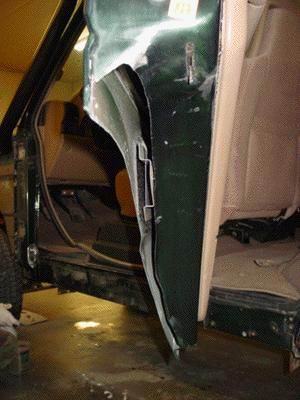
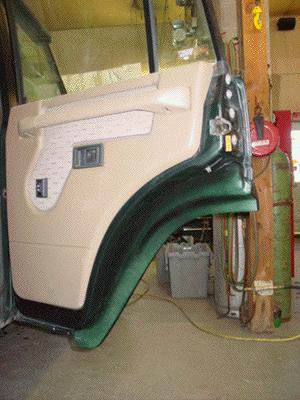
사진22 This image shows the extent of the trimming needed to the rear doors. Both inner and outer door panels are cut away. All door and window functions remain in tact. A new outer door seal is included with the kit to make up for the one that has been r

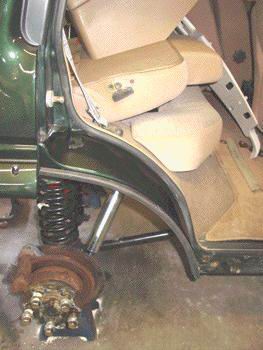
사진23 Here you can see the extent of the cutting for the inner wheel well. This is done so that larger tires can be installed. The inner door seal remains as seen in the photo.

사진24 The flares extend about 1.5" out from where the stock body work would have been. That means you can go an extra 1.5" on rim offset and still keep the tires covered in case the local police want to look your Discovery over. In most states it is ille

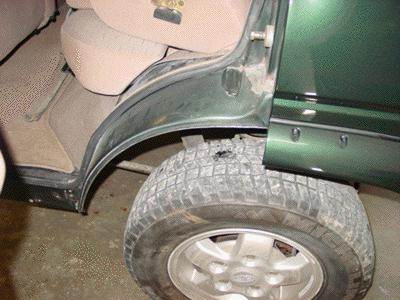
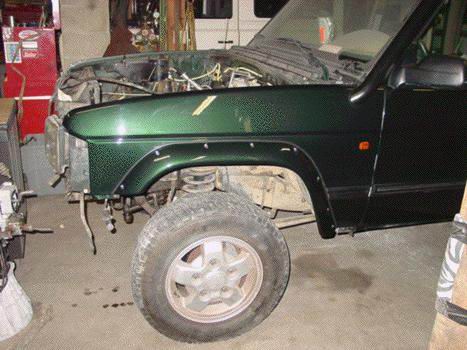
사진25 This image shows the cutting needed to fit the front flares. The fronts are simple and easy to both cut and install

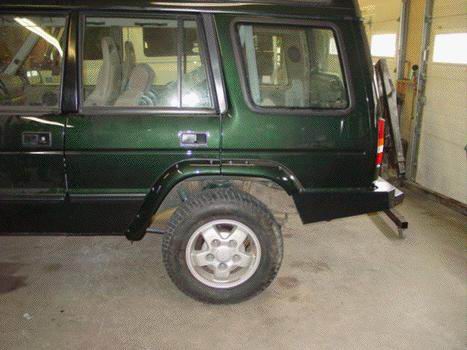
사진26 Once installed the rear flares cover all the cut areas nicely and give a great finished look. All the door functions remain the same, even the safety lock for keeping the kids in the car remains unaltered and in the stock location. This image shows

사진27 A new outer door seal is also included in the kit and keeps the road debris out of the door area just as the factory unit did.

사진29 The flares have now been installed, as have the new door side trims. Painted to match these flares look great and are really functional too.

사진30

사진31 They also give the Discotech a more aggressive look and are certainly different than anything else out there.

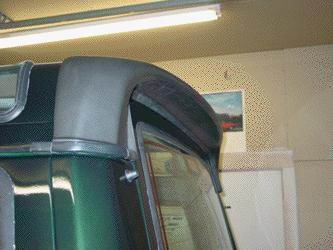
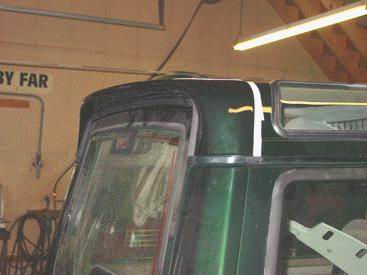
사진32 The rear spoiler has also been installed. Please excuse the tape on the roof just in front of the spoiler, it was needed to gauge the spoiler install for the Safety Devices roof rack (same unit as used on the Disco XDs) that will be installed later

사진34 Here you can see that we have completed the majority of the engine install and have installed the hood. The hood looks great with its Camel Trophy style black out, and we stuck on a new "Land Rover" decal for good measure.

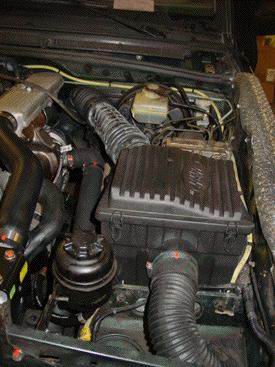
사진42 This image shows the LH side of the engine bay. You can see the jack, the power steering reservoir, the air box and the braking system. The jack and safety ramps will be removed and relocated inside the Discotech as the Tdi air intake takes up that

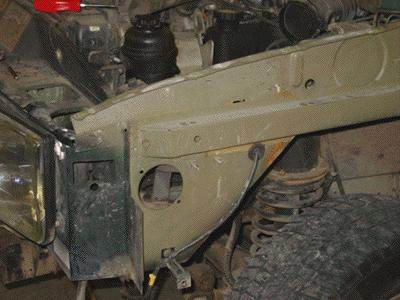
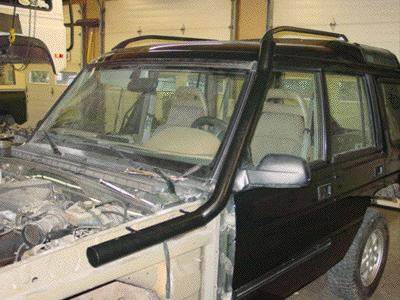
사진43 The ECR ROX Discotech will have all the tricks, and that includes a raised air intake (or snorkel). Here you can see that the LH fender skin has been removed. Taking the skin off is part of the snorkel installation. The large hole you see in the bo

사진44 The rear section of the snorkel is then bolted to the inner fender and to the roof, and then the hose is routed down the inner fender and through the hole in the fender. Later on it will be mated to the new Tdi air box. The hard part of this instal

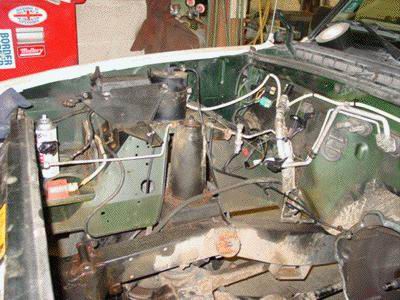
사진49 The RH side of the engine bay is also almost there. The ECU and all the other bits have now been removed. The systems that we are leaving in place will all be checked for any damage and repaired or replaced as needed.

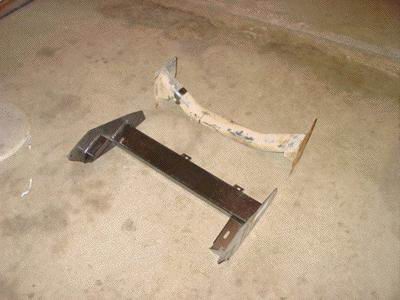
사진52 This image shows the differences in the V8 and the Tdi gearbox crossmember. The Tdi unit will mount to the NAS Disco chassis, but nothing else from the NAS Disco will cross over. Due to vibrations from the diesel and the different exhaust system, t

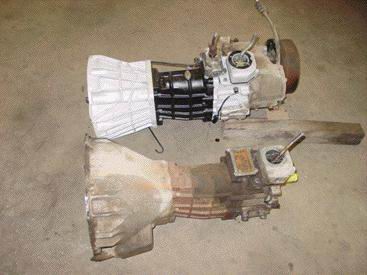
사진56 Seen here for another angle, you can see the input shaft differences, and the difference in overall length (V8 close to camera, Tdi away from camera). The placement of the V8i and the 300 Tdi are very different in the chassis, so the correct gearbo

사진57 Not all the work happens up front on the Discotech. The rear needs some attention for the Tdi conversion as well. The first step was to remove the fuel tank and remove the EFI fuel pump from the tank. Once the tank was removed and drained of all it

사진59 As we are working on the rear of the Discotech we took this time to install the Safari Gard rear bumper. First we removed the old bumper and brackets and the removed all the excess wiring that is no longer used. Then the bumper was installed. This

사진61 The fuel tank skid plate has also been installed and will keep us from harming the fuel tank during any off road antics. The aluminum skid plates takes some custom work to fit, but they do the job nicely and look great as well. The sway bars are in

사진67 This image shows the completed engine mounts for the Tdi set up. Now its time to drop the motor in place.

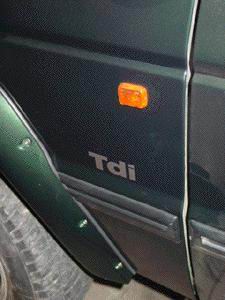
사진69 As the build up continues the small touches get added to the Discotech. Here you can see we have installed the Disco Tdi logos on the side. Sure they are normally on the rear door, but we put them on Defender style, one on each side.

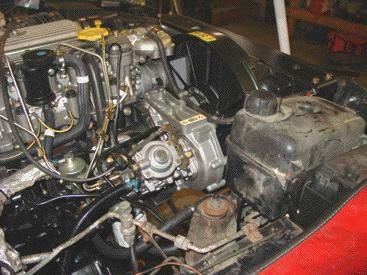
사진70 Now that the engine is in place and bolted to the gearbox we have started to hook up the systems. Here on the right hand side of the engine bay you can see that we have installed the coolant expansion tank, hooked up the fuel lines (feed and return

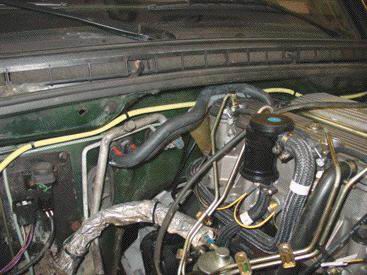
사진71 in the right rear of the engine bay we have attached the new heater hoses as well. Now that most of the V8 parts have been removed, and the major changes have already been made to allow the Tdi to fit, the going starts to get a little easier (until

사진72 This image shows the front of the engine bay and you can see that we have come a long way in a day. All the coolant hoses are now in place, as are the oil cooler hoses, the gearbox cooler hoses and all the turbo and intercooler hoses. In all these

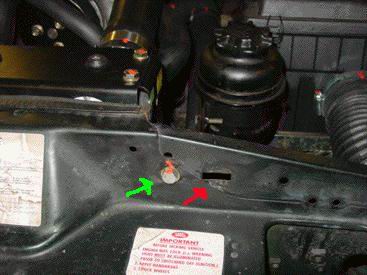
사진73 This image shows the radiator support, few changes have to be made here. The red arrow shows where the radiator retainers usually bolt in, but the Tdi radiator/intercooler assembly is narrower and requires that a new hole be drilled in the panel. T

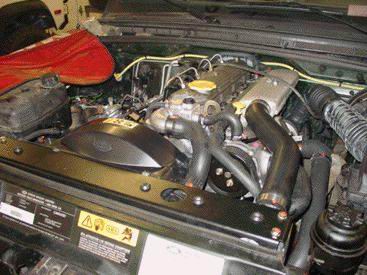
사진74 Here you can see the left hand side of the engine bay. The Tdi air box installs easily where the V8 unit used to be and the raised air intake hose plugs directly into the front of it. The turbo hose then comes out of the filter box and hooks into t

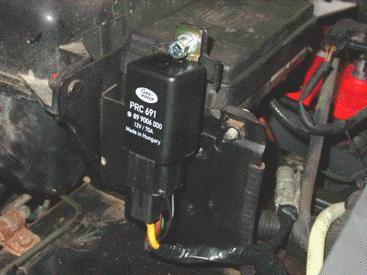
사진78 The simplicity of the Tdi starts to show in the engine bay wiring. yes, it takes quite a bit of time to get the NAS Discovery wiring mated to the Tdi, but a lot of that time is spent removing items that are no longer used in the Discotech. The larg

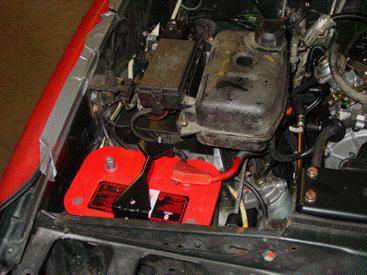
사진79 To keep our longevity and simplicity theme going, we have installed an Optima battery. This will give us all the power we need and mean no weak or dead battery issues for a long, long term. The Tdi has a great high output alternator on it from the

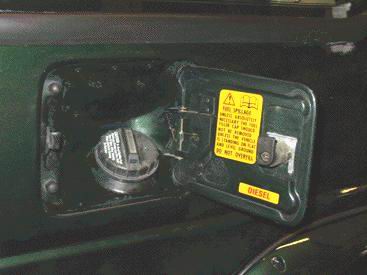
사진82 The fuel fill is now done as well, with the correct factory "Diesel" decals, and is ready for some test fuel as we are now ready to fire up the Tdi for the first time.

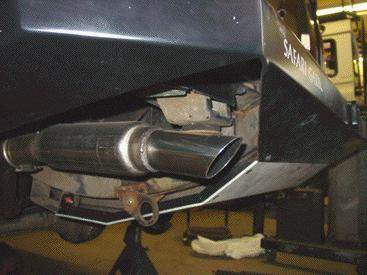
사진84 Before we hit the trail we have to clean up that NRP exhaust tail section. It works great out of the box for a stock Rover, but with our new rear bumper and the off roading we plan to do, we need to trim it back a bit. The image above shows the sho

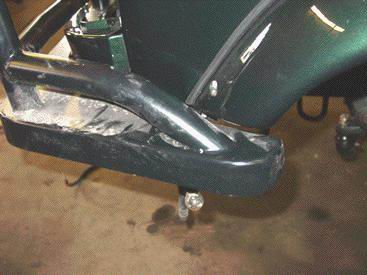
사진86 This image shows the wrap around corners of the front bumper and the front wheel flares. Notice that no modifications are needed, the bumper fits just fine, even with the flares in place. Please excuse the dust on the bumper, its been hanging out i

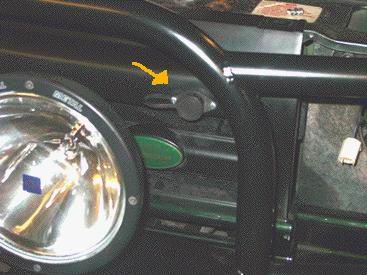
사진89 This image shows the winch remote plug in location. This keeps everything neat and tidy on the exterior, but still easy to use.

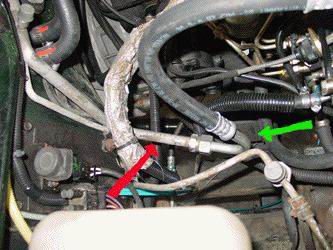
사진94 This image shows the rear AC hose, mated to the factory original, very straight forward and a simple install. Green arrow shows the new line, red arrow shows the factory original line.

