|
Defender 110 2탄 275마력
페이지 정보작성자 육혁 작성일05-01-13 02:32 조회4,735회 댓글2건 |
본문
Automatic conversion and Upgrades
1탄애서 차를! 주인이 다른 사람한태팔고, 새주인은 자기가원하는 옵텬을설치위해 다시공장으로 왓씀다. 오토 트랜스 그리고 해변가를 주변으로 쓰여질 차를생각해서 튜닝뒵니다.
지금 ECR 은 3년을(현재손님제외) 기다려야 만합니다. 돈주고 만들어달래도 어쩔수업이 기다려야 한다이거져. 재미난 사건이 하나 있는대 로버매니아 한분이 로버사애 특주문을햇는대 자기가 원하는 튜닝들을 요구하면서 ECR 처럼 해달라 요구를햇다하내여. ECR 하고 예기한 로버사애서 순정 디팬더를 그냥 ECR 애보냇다합니다. 자기들이 더싸개 할수도업고 비슷한 튜닝을한적이업어서.... 그정도면 전문가라는 말을 들을수 있을것도 갓은대....

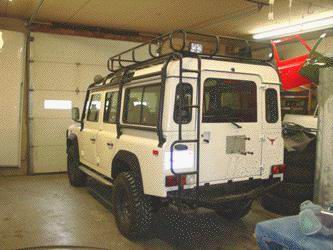
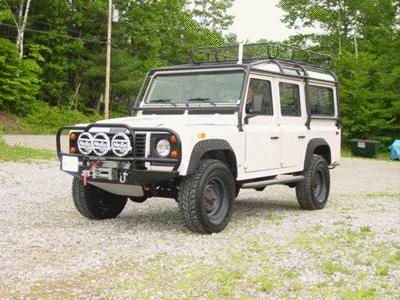
사진1 This totally tricked out Defender 110 is one that ECR did a lot of work to a year or so ago. It has recently changed hands and has come back from Texas to ECR for even more changes. It now will be further modified for use on Nantucket. These cool ne

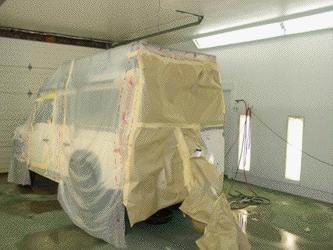
사진2 A few of the personal touches from the last owner of the 110 need to be removed for the new owner. Above you can see the 110 in our paint booth. The logo on the back from the previous owner has been removed and the area correctly re-painted back to

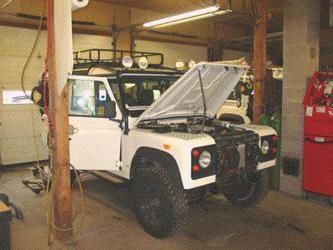
사진3 Now that the paint work has been completed we have moved the 110 into the mechanical side of our facility and have started to work on the upgrades. The weak factory bumper and brush bar have been removed and will be replaced with a new Safari Gard u

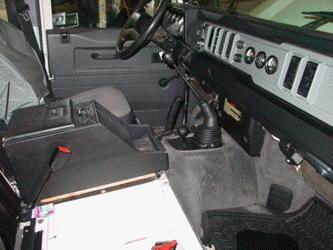
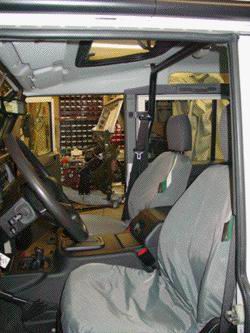
사진4 Inside the 110 you can see that we have removed the passenger seat because underneath it we will be extending the under seat toll locker so that an Oasis Air air compressor will fit in that location. This on board heavy duty compressor will allow th

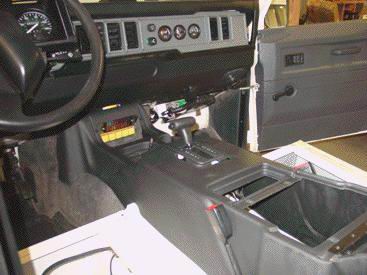
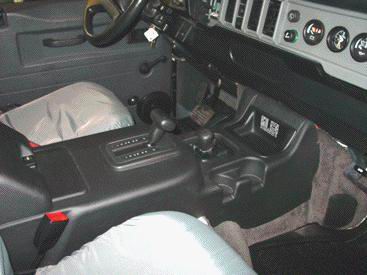
사진11 In this image you can see that the interior changes for the automatic are starting to take shape in the 110. The factory console and shifters for the automatic have been modified and installed. This console will later hold the new Alpine stereo wit

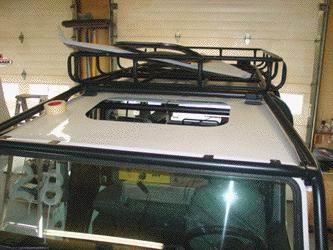
사진14 What you are left with is a large hole in the roof panel as you can see in the image above. At this stage the front headliner is installed and marked for the preliminary cut for the sunroof.

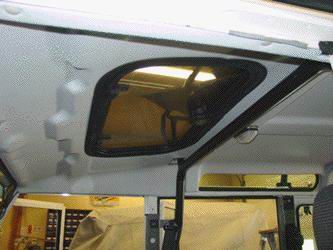
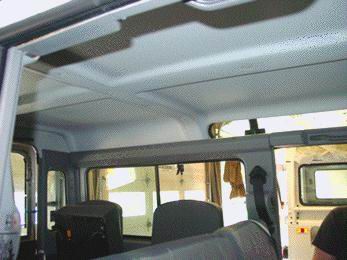
사진17 Back inside the 110 we have installed the sunroof panel and cut the headliner to correctly fit around the new unit. The sunroof trim is then added and the rest of the interior will now go back together. The sunroof can tilt up at the back, or can b

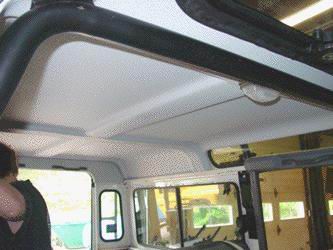
사진21 This image shows the new headliners installed and ready for the trim to go back in. It may be a hassle to replace them, but once they are replaced they give a very clean look to the interior of the 110. Nothing makes the inside of a 110 look worse

사진22 Here you can see the side trims and jump seats have all been re-installed for what now looks like a fresh and clean interior to this 11 year old Defender 110.

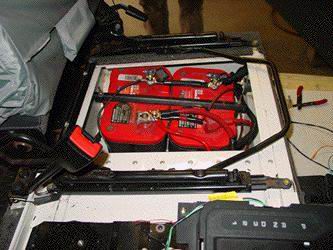
사진23 Now that we have the interior looking better we can move on to the stereo install. To handle the winch and the stereo needs we have tucked 2 Optima batteries into the standard seat box of the 110. This will give the winch all the reserve power it n

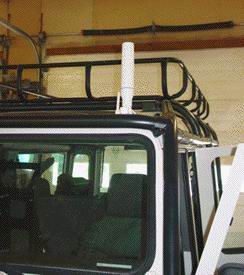
사진24 The 110 will be getting a high end Alpine system with CD changer, JL Audio 500/5 amp, 10" sub, and 4 6" speakers. The Alpine radio also has XM satellite radio so we have installed that as well. The image above shows the marine grade XM antenna that

사진25 In the front door we have installed JL Audio separates. These will give great sound and still look very close to factory stock so that the stereo install looks like it should be in the 110, not like an odd-ball addition.

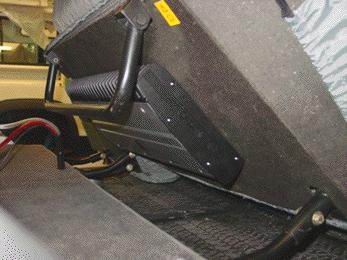
사진27 The JL Audio 500/5 amplifier is hidden under the rear bunch seat. As you can see in the image above we removed the seat coverings and fabricated some anchor plates so that the amp is bolted to the steel framework of the seat. We then reinstalled th

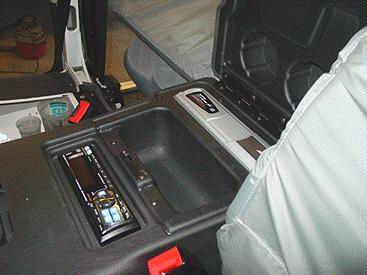
사진28 Here you can see the Alpine head unit and CD changer. We installed these into the factory style automatic console, along with the factory style changer cubby box mount. This makes for a clean install that is easy to access. The receiver for the XM

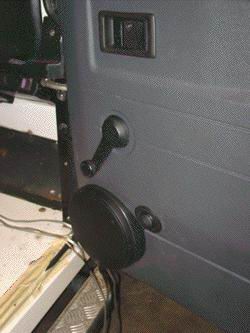
사진29 This image shows the rear JL Audio speakers installed in the side panels of the 110. We made new speaker panels and covered them with the correct carpet for a factory look, but with better sound than the cheesy factory speakers. The cross-overs for

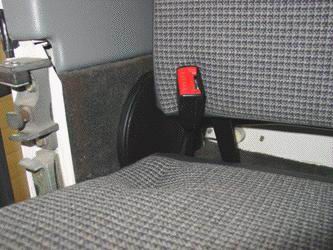
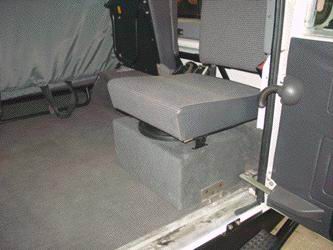
사진31 In the image above you can see that we have fabricated small feet onto the sub-woofer box. These allow the 4th jump seat to still be used even when the sub box is in place. No modifications have been done to the seat base, so if you do remove the s

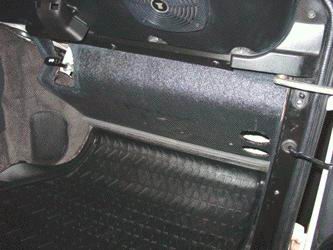
사진33 In the front of the 110 you can now see the heavy duty footwell trims that we fabricate for Defenders. These heavy duty units will actually stand up to foot traffic and look better than the factory cardboard pieces that sagged just after delivery.

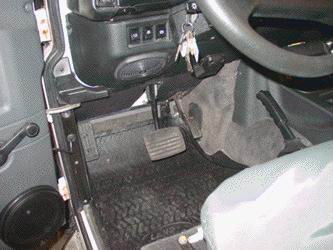
사진34 The drivers side of the 110 Wagon gets the same heavy duty footwell treatment. This gives the automatic conversion a nice finished look and will stand up to wet or muddy boots inside the Rover.

사진35 The image above shows the drivers area for this 110 Wagon. The area is now nicely set up with everything from a high end Alpine audio system, to the sunroof...

사진36 seat covers and correctly done automatic conversion, right down to the correct 110 fuse box diagram on the back side of the fuse box cover.

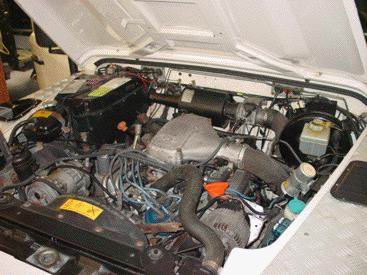
사진37 Under the hood of the 110 Wagon you can see that all the changes from the Pursuit 4.6 engine to the automatic conversion all look correct, and can be easily serviced with Genuine Land Rover Parts when the time comes.

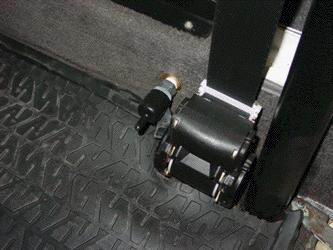
사진39 The air chuck outlet for the Oasis system gets mounted in the rear seat area where it is out of the way, yet also easy to access when you need to use it.

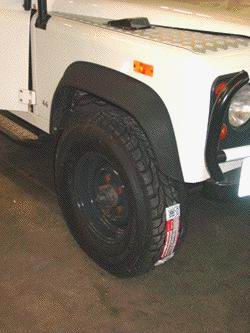
사진42 Speaking of street and beach... The 110 had some aggressive of off road tires, so we have swapped those out for some mild Geo-Lander AT IIs in a 265/75R16 that you can see in the image above. This will give the 110 a better street ride and great fl

사진43

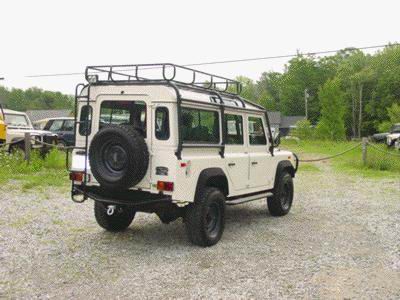
사진44 The shots above show the completed 110 Station Wagon project ready for delivery to the customer in MA. Coming or going you can now see that this 10 year old 110 has a new future and will be easily able to tackle anything the new owner wants to thro

